
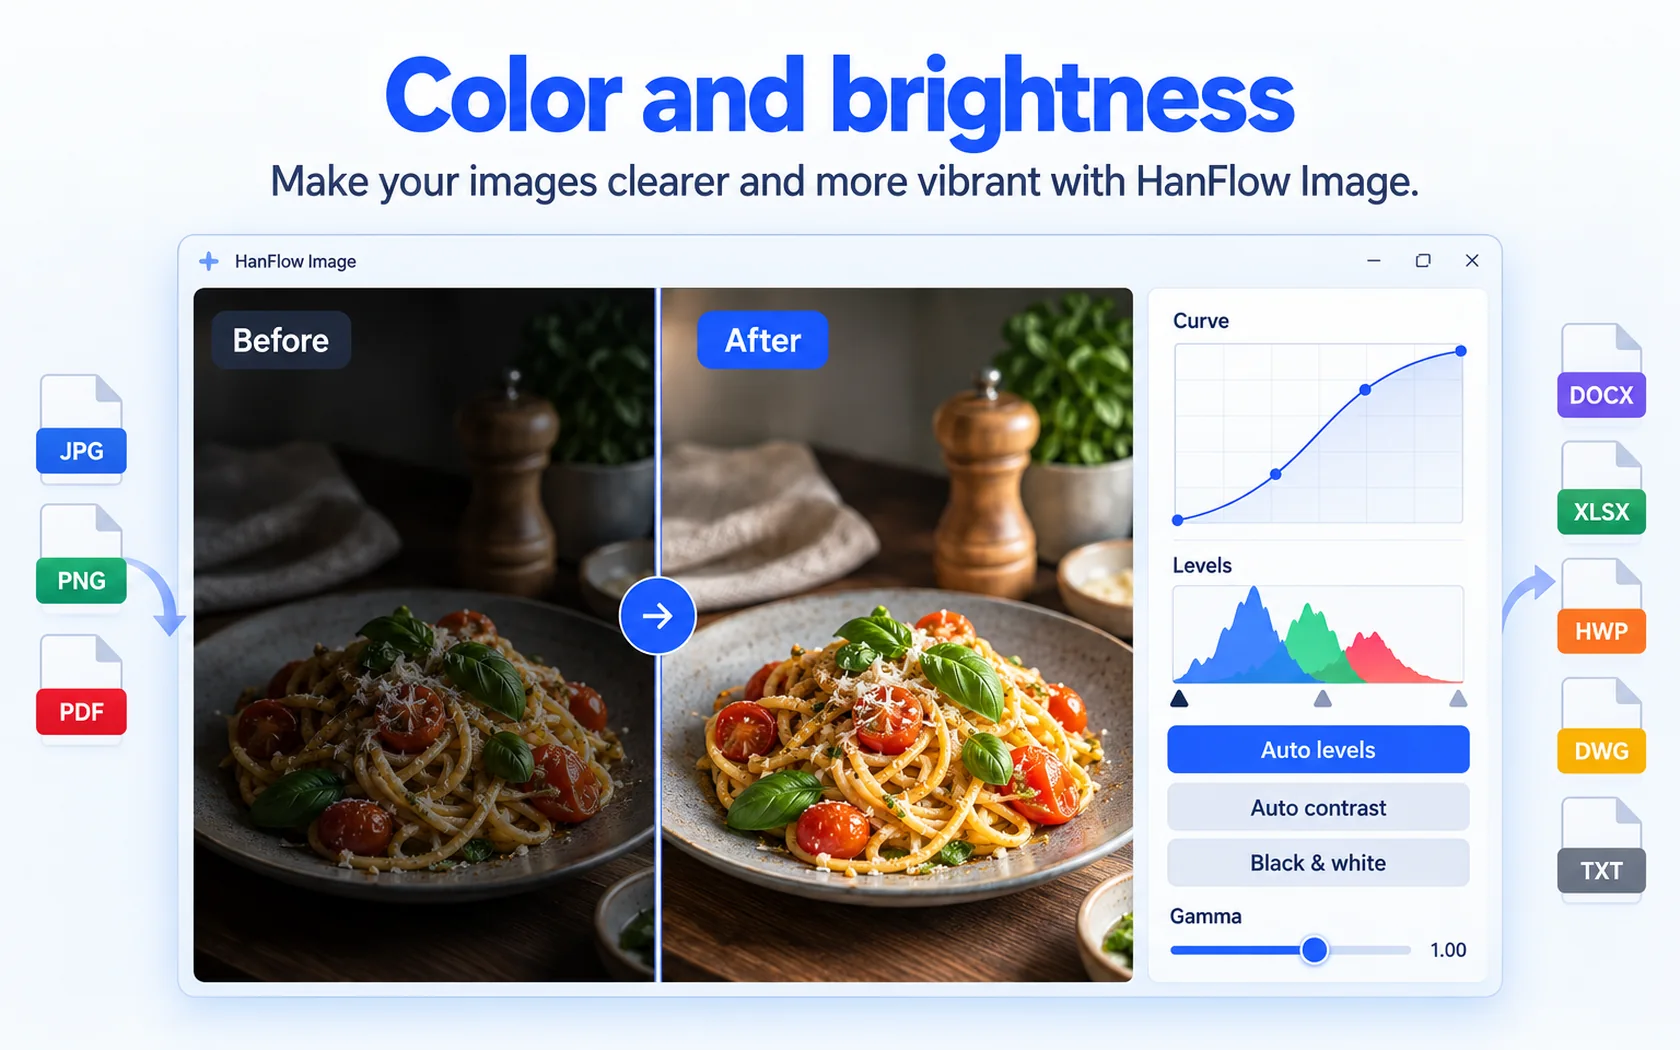
Open your photo in HanFlow Image, then go to Effects (or right-click the image). Choose Auto contrast (Ctrl+Alt+O) for a quick fix that keeps the color balance. For finer control, open Levels… (Ctrl+L) or Curves… (Ctrl+M), adjust until the preview looks right, and click OK. Press Ctrl+Z to undo any change you don't like, then save with Ctrl+S or Ctrl+Shift+S (Save As).
One-click fixes: Auto contrast vs. Auto levels
HanFlow Image offers two automatic adjustments under the Effects menu. They look similar but work differently.
Auto contrast (Ctrl+Alt+O) stretches all color channels together. It spreads a dim, flat photo across the full brightness range without shifting the color balance. Start here when the photo simply looks too dim. If the photo already has a few very bright spots, it may change little — then use Levels or Curves.
Auto levels (Ctrl+Alt+L) stretches each color channel separately. That can fix a photo that has both a dark exposure and a noticeable color cast — a yellow tint from indoor lighting, for instance. Because channels are adjusted independently, colors may shift. If the result looks odd, press Ctrl+Z and try Auto contrast instead.
Both commands clip 0.5 % at each end of the tonal range. There are no sliders — one click and it's done. Try both on the same photo, undo in between, and keep whichever looks better.
For a smaller nudge, use Brighten (also in the Effects menu). Each click raises brightness by a small step. Click it several times to build up the effect, or click Darken to pull it back.
Levels: step-by-step control
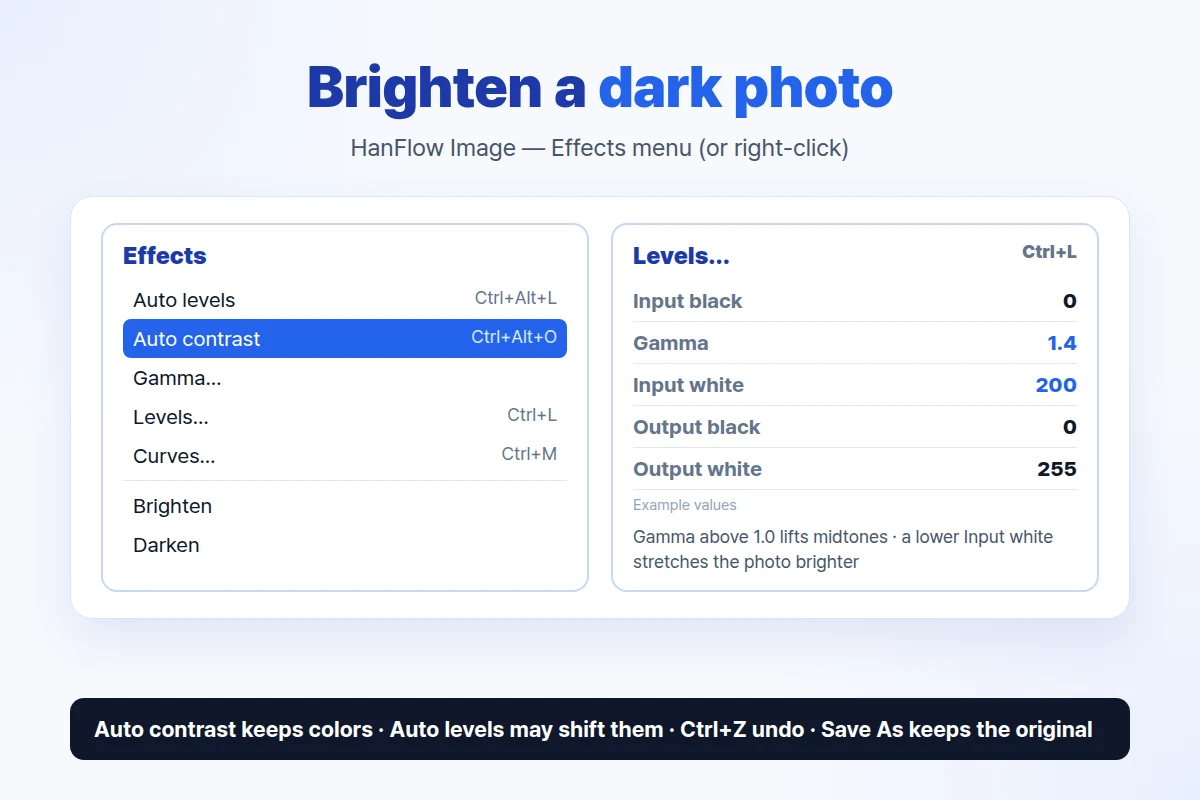
When the automatic options don't get you close enough, Levels lets you place the adjustments yourself.
- Open the Effects menu and choose Levels… (Ctrl+L).
- The Levels window shows a small preview of your photo alongside its brightness distribution — a chart that tells you where the dark, mid, and bright tones sit.
- You'll see five fields: Input black, Gamma, Input white, Output black, and Output white. The four black and white fields run from 0 to 255; Gamma is a ratio where 1.0 means no change.
- To brighten a dark photo, try these moves:
- Lower Input white — type a value near where the brightness distribution ends on the right. A lower value now counts as white, so the photo stretches brighter.
- Raise Input black only a little — it deepens the darkest shadows and adds contrast, so use it sparingly on a dark photo.
- Raise Gamma above 1.0 — this brightens the midtones while pure black and pure white stay where they are. A value of 1.0 leaves midtones unchanged; values above 1.0 push them lighter.
- Check the preview after you change a field.
- Click OK to apply, or Reset to return every field to its default. Cancel closes the window without changing anything.
Curves: shape the tonal range
Curves gives you even more flexibility. Open Effects → Curves… (Ctrl+M). You'll see a diagonal line on a graph that runs from 0 (shadows, bottom-left) to 255 (highlights, top-right), with a preview beside it.
- Click on the graph to add a point, then drag it.
- To brighten midtones, click the middle of the curve and drag it upward. The preview shows the result immediately.
- Add more points to brighten or darken specific parts of the range — lift the lower quarter for shadow detail, or pull down the top quarter to tame highlights.
- Right-click a point to remove it.
- Click OK to apply, Reset to start over, or Cancel to discard.
Curves is powerful for photos that need different treatment in shadows and highlights — a backlit portrait, for example, where the face is dark but the sky is already bright.
Gamma alone
If all you need is a midtone lift, Effects → Gamma… is the simplest dialog. It offers a single value from 0.1 to 5.0. A value of 1.0 leaves the photo unchanged. Raise it above 1.0 to brighten; lower it to darken. Adjust, check the result, and move on.
Undo and saving
Press Ctrl+Z to undo the last adjustment.
When you're happy with the result, press Ctrl+S to save over the current file, or Ctrl+Shift+S (Save As) to write a new copy and keep the original untouched. If you think you might want the unedited version later, Save As is the safer choice.
Saving as JPEG carries over EXIF data, GPS coordinates, and the color profile from the original file. Note that all adjustments in HanFlow Image are computed in 8-bit.
Frequently asked questions
Auto levels or Auto contrast — which should I try first?
Start with Auto contrast. It stretches the brightness range and keeps the color balance. If the photo also has a color cast you want to correct, undo and try Auto levels instead — it adjusts each channel on its own, which can neutralize a tint.
Why did my colors change after Auto levels?
Auto levels stretches each color channel separately. If one channel stretches more than the others, the color balance shifts. That's by design — it can remove a cast, but it can also introduce one. If you don't like the shift, press Ctrl+Z and use Auto contrast, which stretches all channels together and leaves colors alone.
Is the "Sharpen" item edge sharpening?
No. The Sharpen command in the Effects menu raises contrast a small step per click. It does not perform edge sharpening. Soften does the opposite and lowers contrast a step.
Can I use HanFlow Image after the 30-day trial?
After the trial, you can still open and view photos. Saving requires a license.
You might also find these guides useful: resize many photos at once and view a photo's EXIF data.