
Lectures, interviews and vlogs are hard to follow with the sound off unless they have captions — but typing out every sentence takes several times longer than the video itself. Auto captions in HanFlow Cut transcribe the speech in your video and place the captions on the timeline for you.
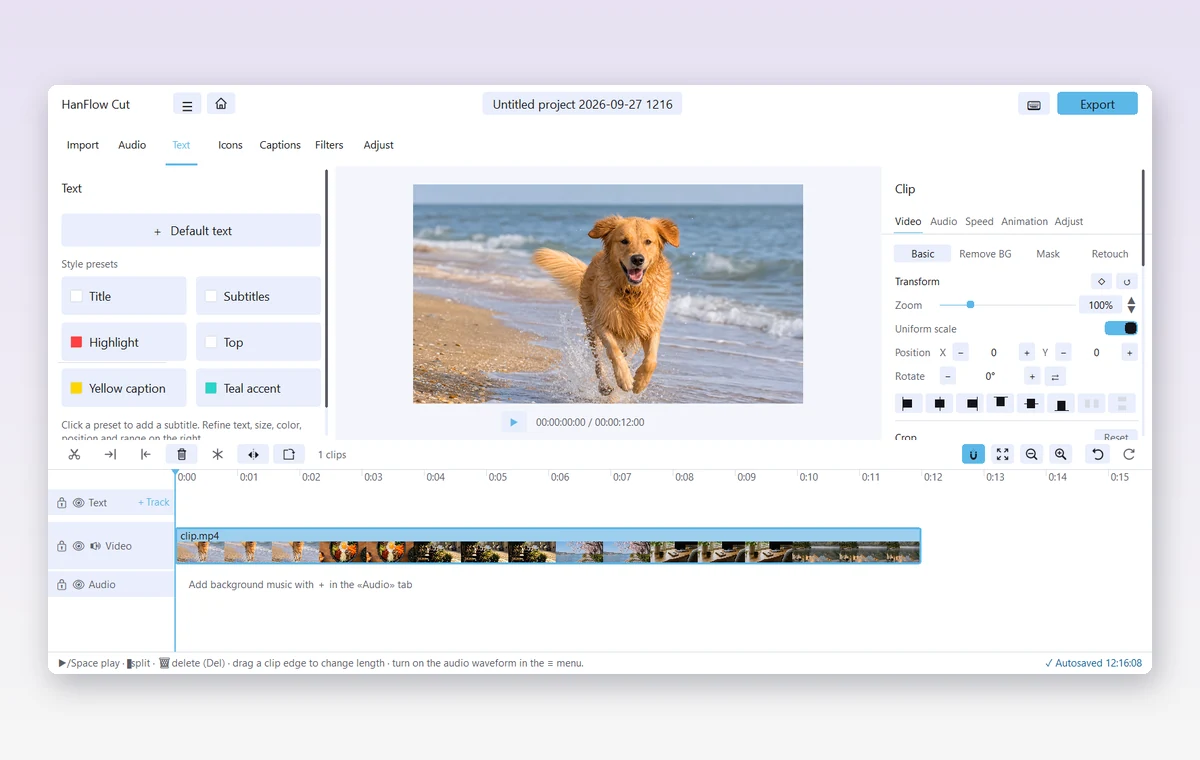
How to use it
- Import your video into HanFlow Cut and place it on the timeline.
- Open the Captions tab at the top and click Create auto captions.
- Choose the spoken language and start.
- When it finishes, each sentence appears as a caption on the timeline.
A one-time download the first time
The first time you use auto captions, HanFlow Cut downloads a transcription program (whisper.cpp, about 8 MB) and one speech model file. They are not part of the installer, so only people who use the feature download them.
- You see what will be downloaded before anything starts, and files are installed only if they match checksums fixed in advance.
- Everything goes into your own user folder, so no administrator rights are needed.
- You can stop the download with Esc.
How long does it take?
Transcription runs on your own PC. Depending on the length of the video and your PC, it takes from a few minutes to tens of minutes. Press Esc to stop at any time.
Polish the captions
- Click a caption to fix any wrong words.
- Change the font size, color and position, or apply a caption style (Title, Highlight, Yellow caption and more).
- If you already have an .srt subtitle file, you can import it instead.
- Export to MP4 and the captions are burned into the video.